主题
自定义输出渲染
自定义输出渲染允许你使用自己的自定义 HTML 页面来可视化运行输出和数据集参考输出。这对于以下场景特别有用:
- 领域特定格式:以原生格式显示医疗记录、法律文档或其他专用数据类型。
- 自定义可视化:从数值或结构化输出数据创建图表、图形或示意图。
在本页中,你将学习如何:
- 在 LangSmith UI 中**配置自定义渲染**。
- **构建自定义渲染器**以显示输出数据。
- 了解自定义渲染的显示位置。
配置自定义输出渲染
你可以从两个层级配置自定义渲染:
- 针对数据集:将自定义渲染应用于与该数据集关联的所有运行,无论它们出现在何处——实验、运行详情面板或标注队列中。
- 针对标注队列:将自定义渲染应用于特定标注队列中的所有运行,无论它们来自哪个数据集。此设置优先于数据集级配置。
针对追踪项目
要为追踪项目配置自定义输出渲染:
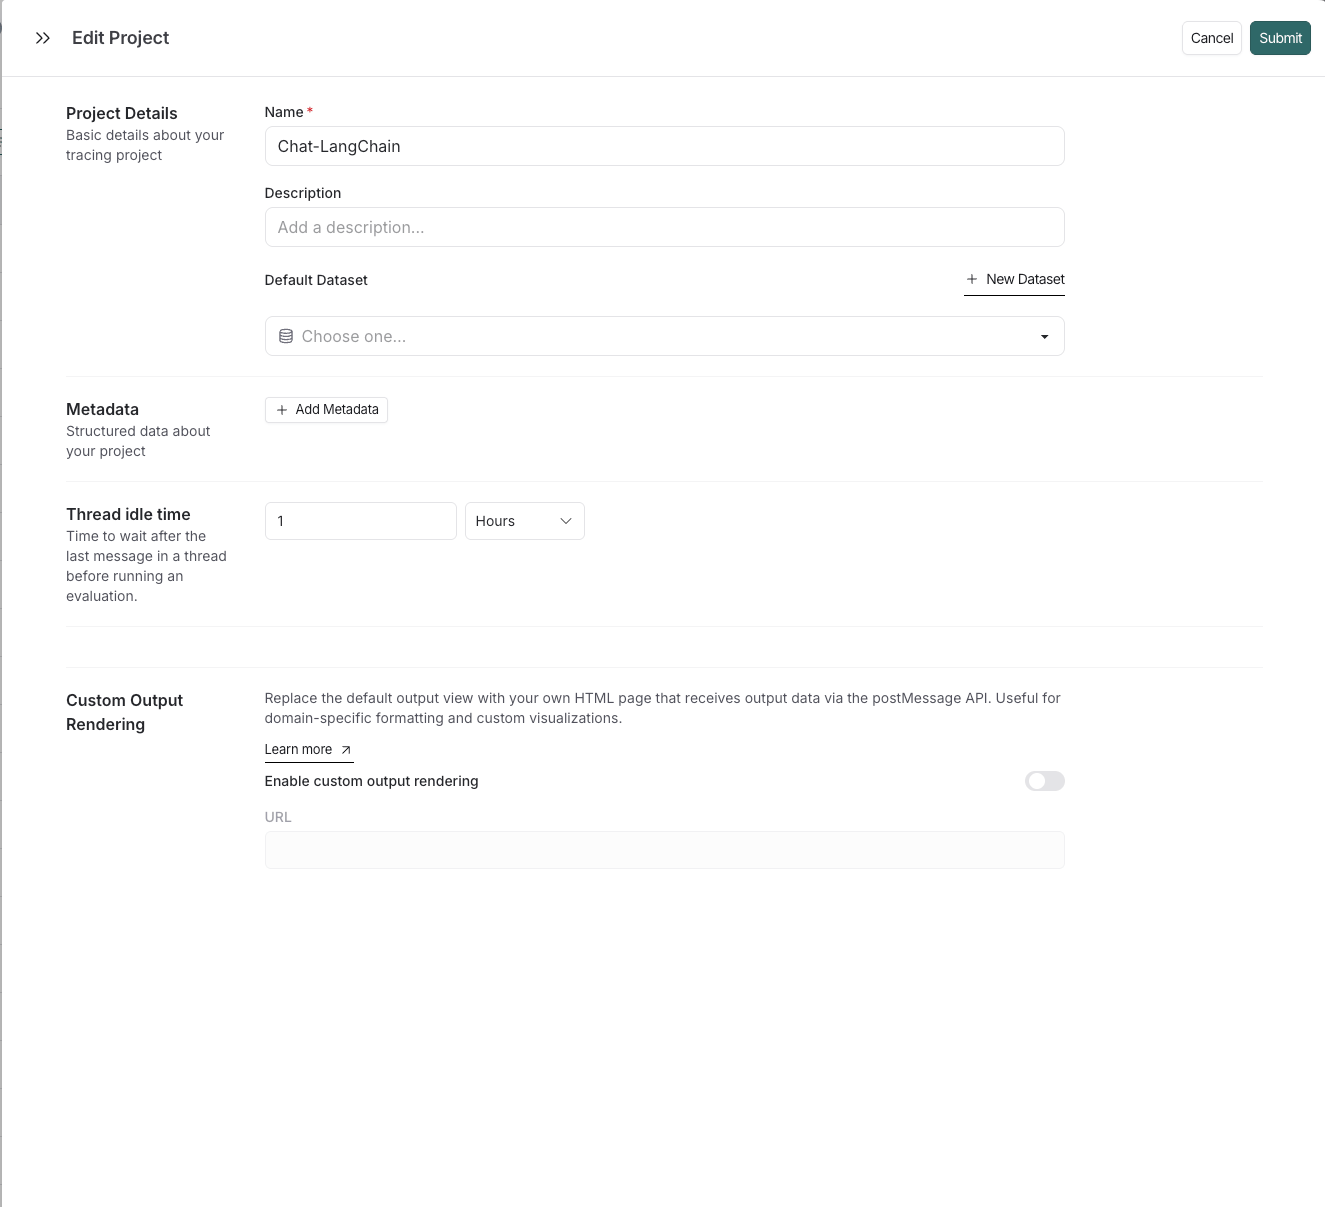
- 导航到 Tracing Projects 页面。
- 点击现有追踪项目或创建新项目。
- 在编辑追踪项目面板中,滚动到 Custom Output Rendering 部分。
- 打开 Enable custom output rendering。
- 在 URL 字段中输入网页 URL。
- 点击 Save。
针对数据集
要为数据集配置自定义输出渲染:
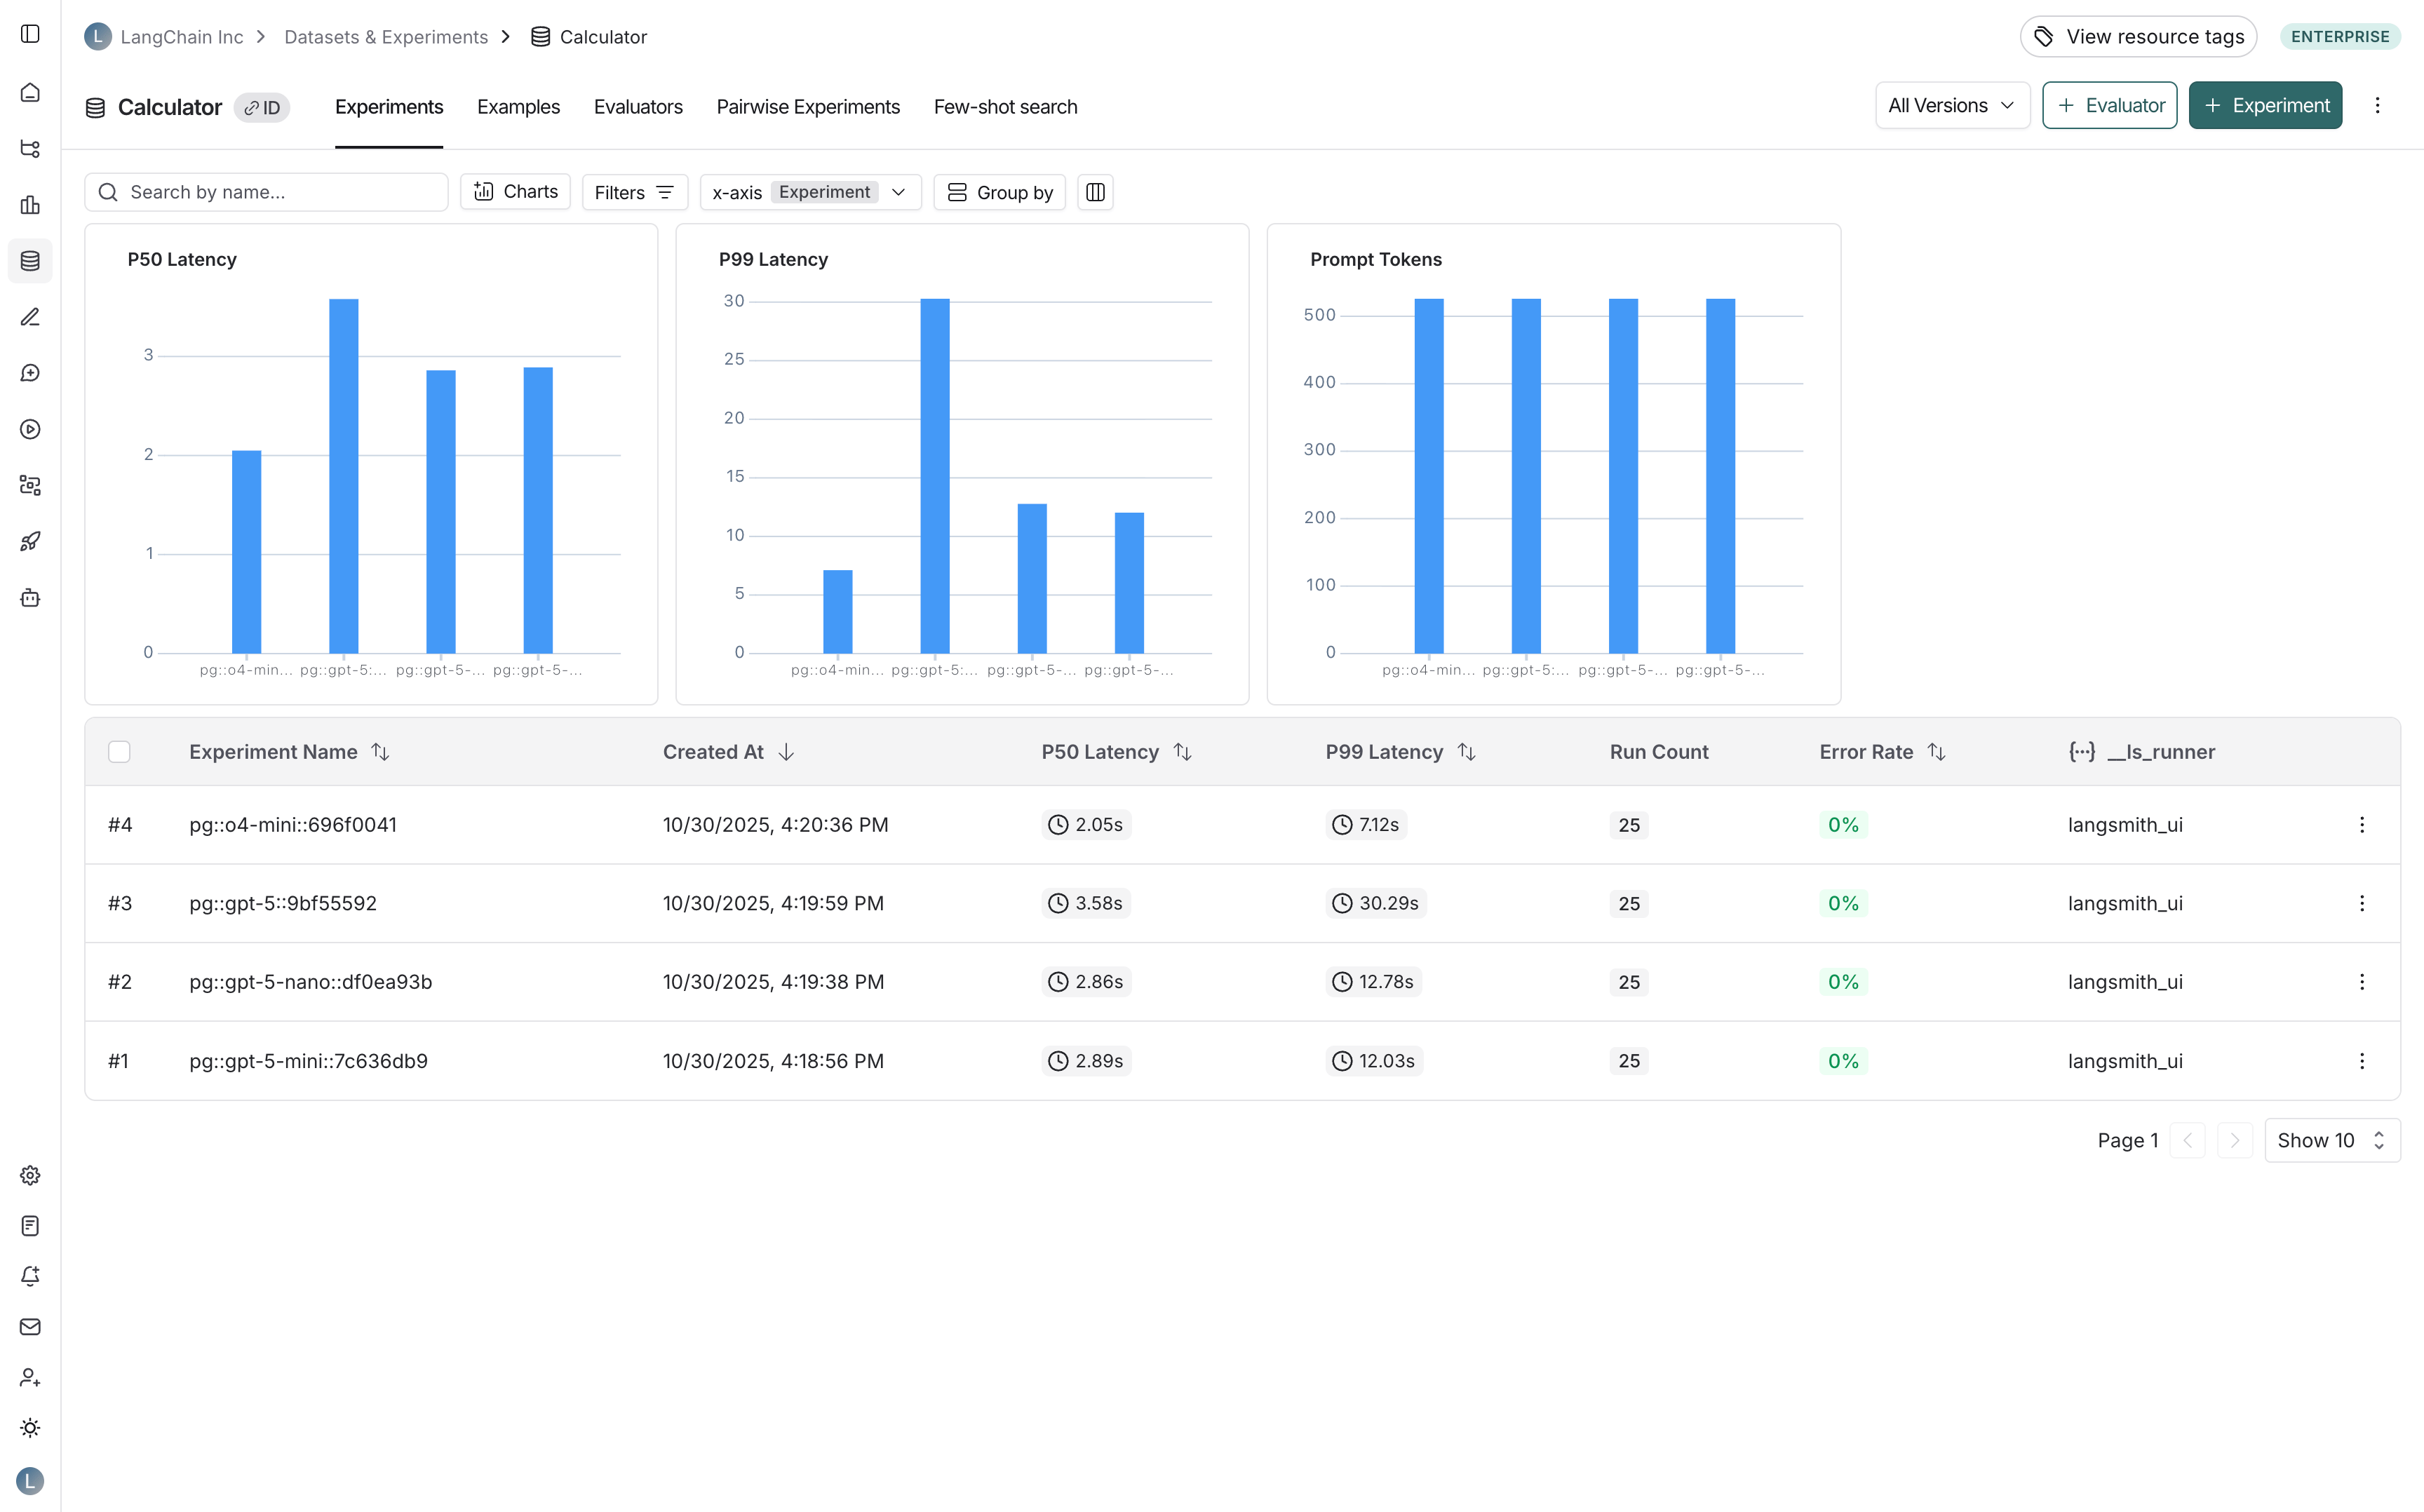
- 在 Datasets & Experiments 页面中导航到你的数据集。
- 点击右上角的 ⋮(三点菜单)。
- 选择 Custom Output Rendering。
- 打开 Enable custom output rendering。
- 在 URL 字段中输入网页 URL。
- 点击 Save。
针对标注队列
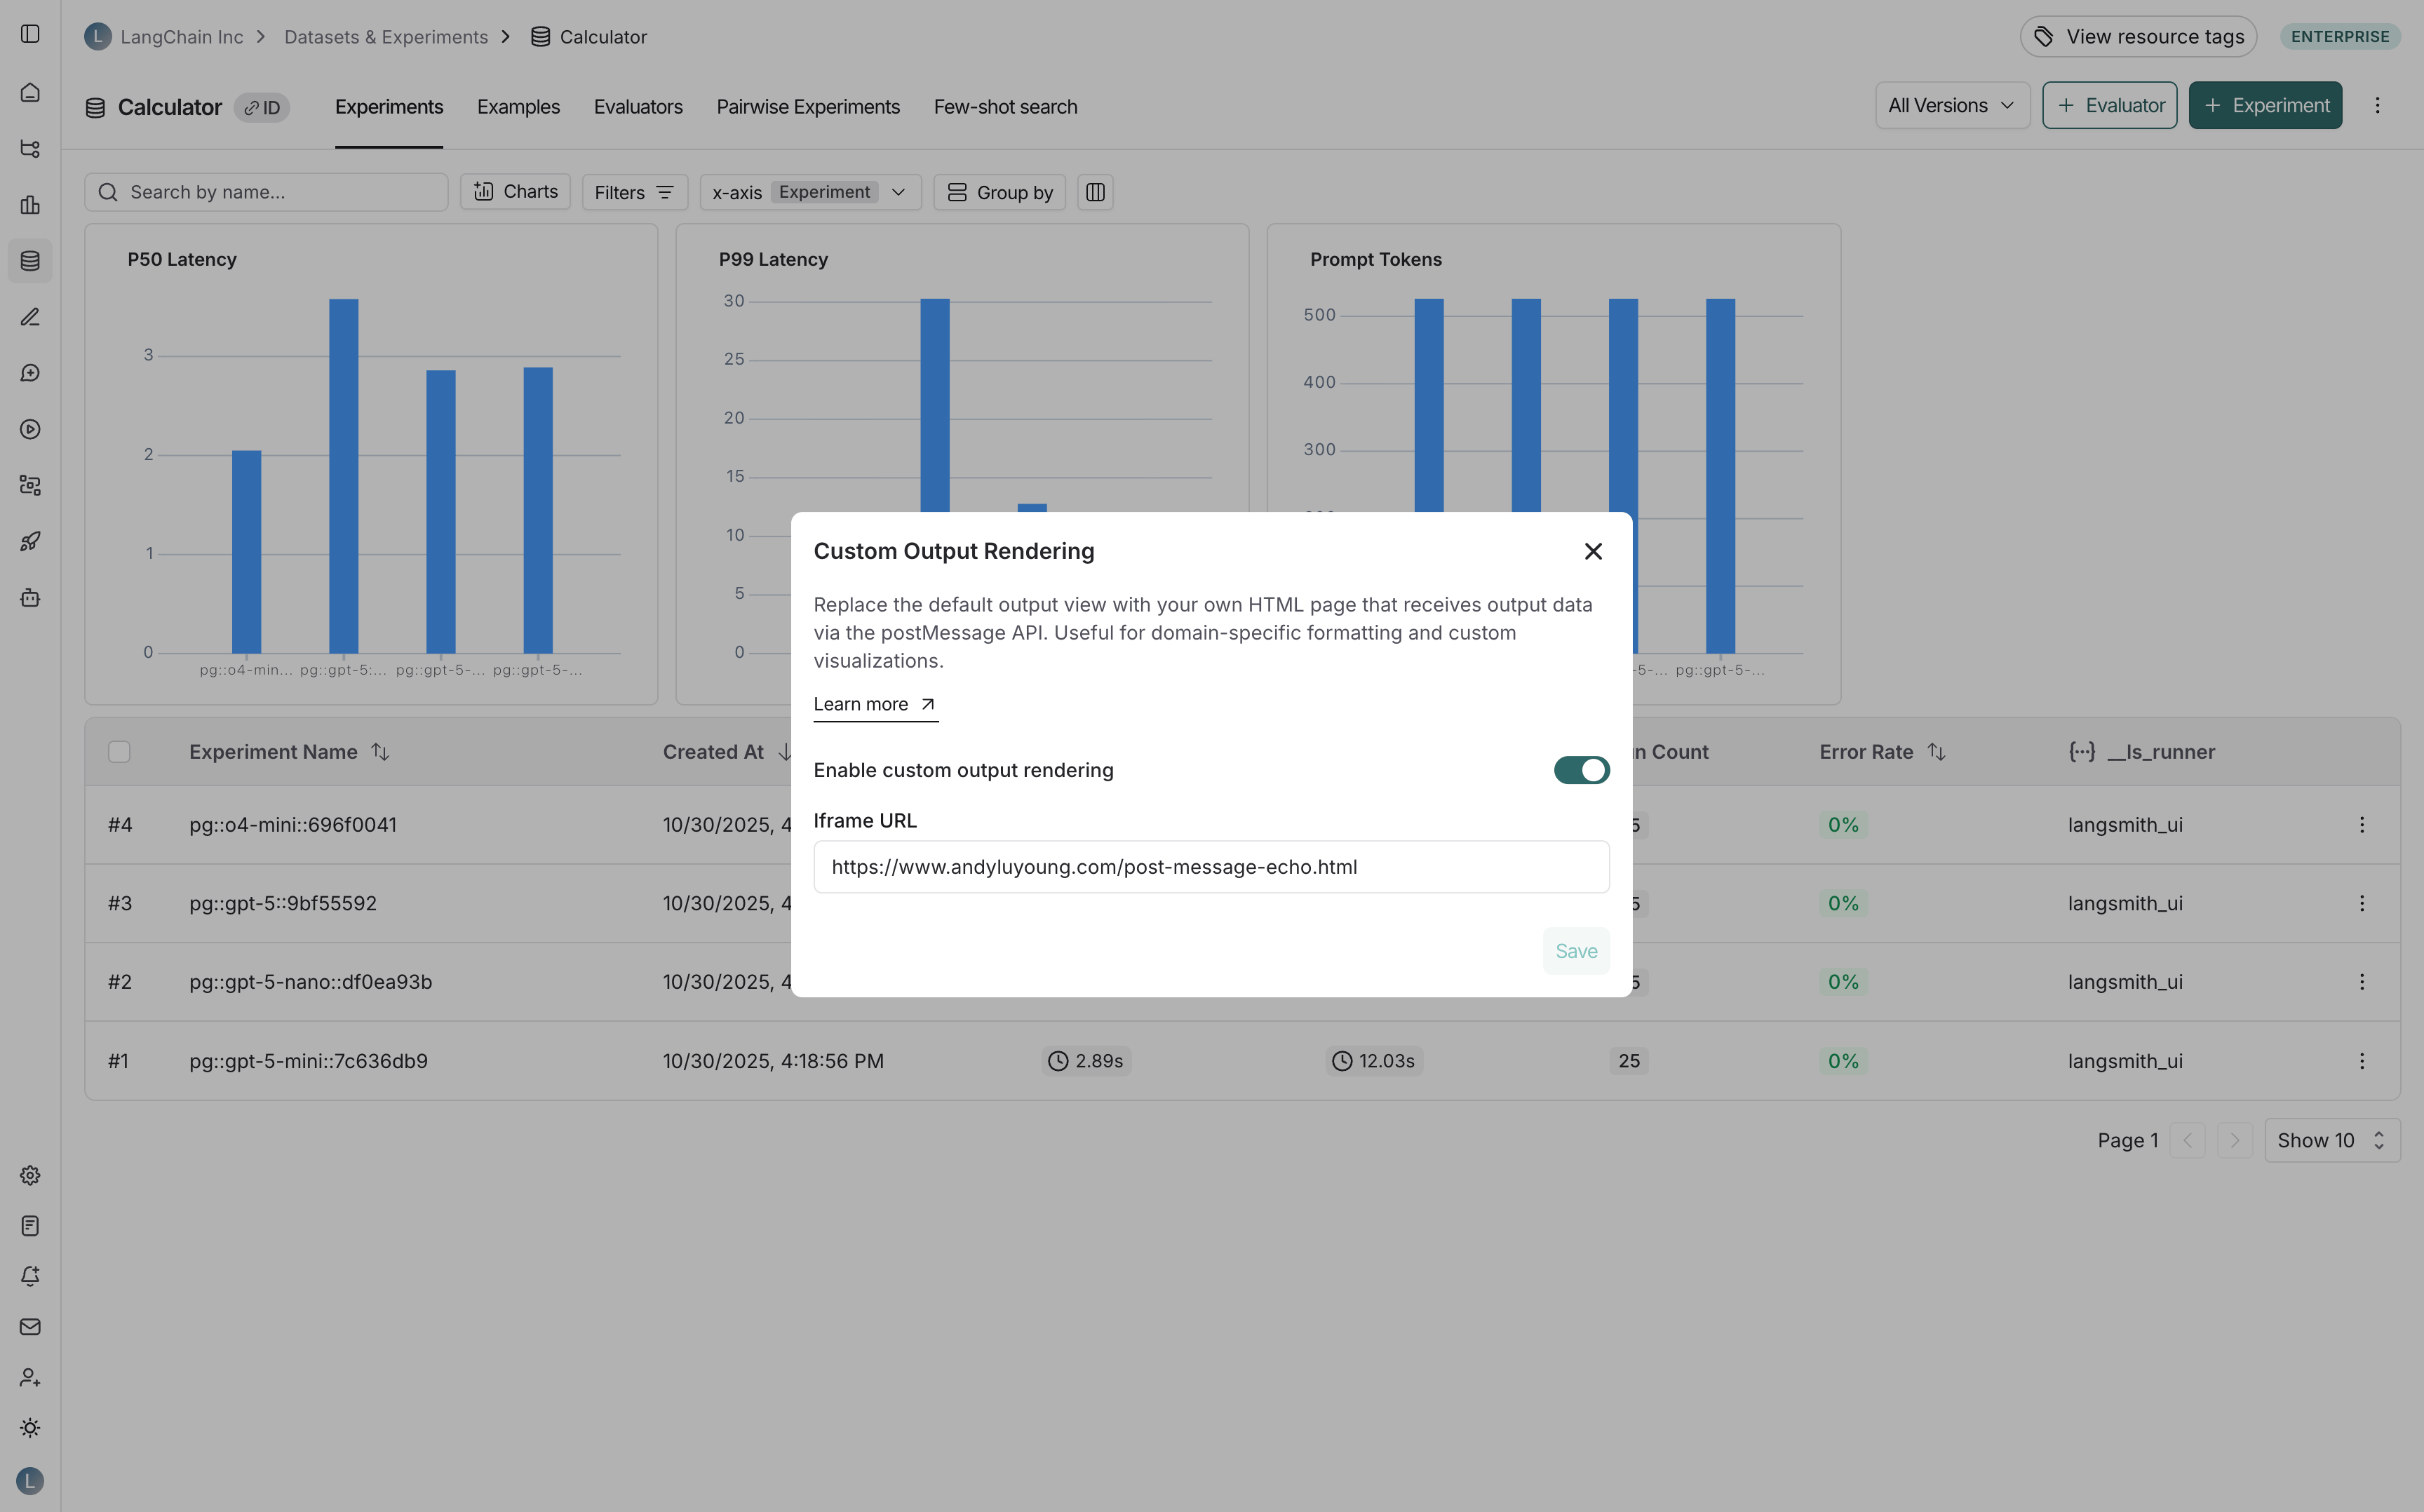
要为标注队列配置自定义输出渲染:
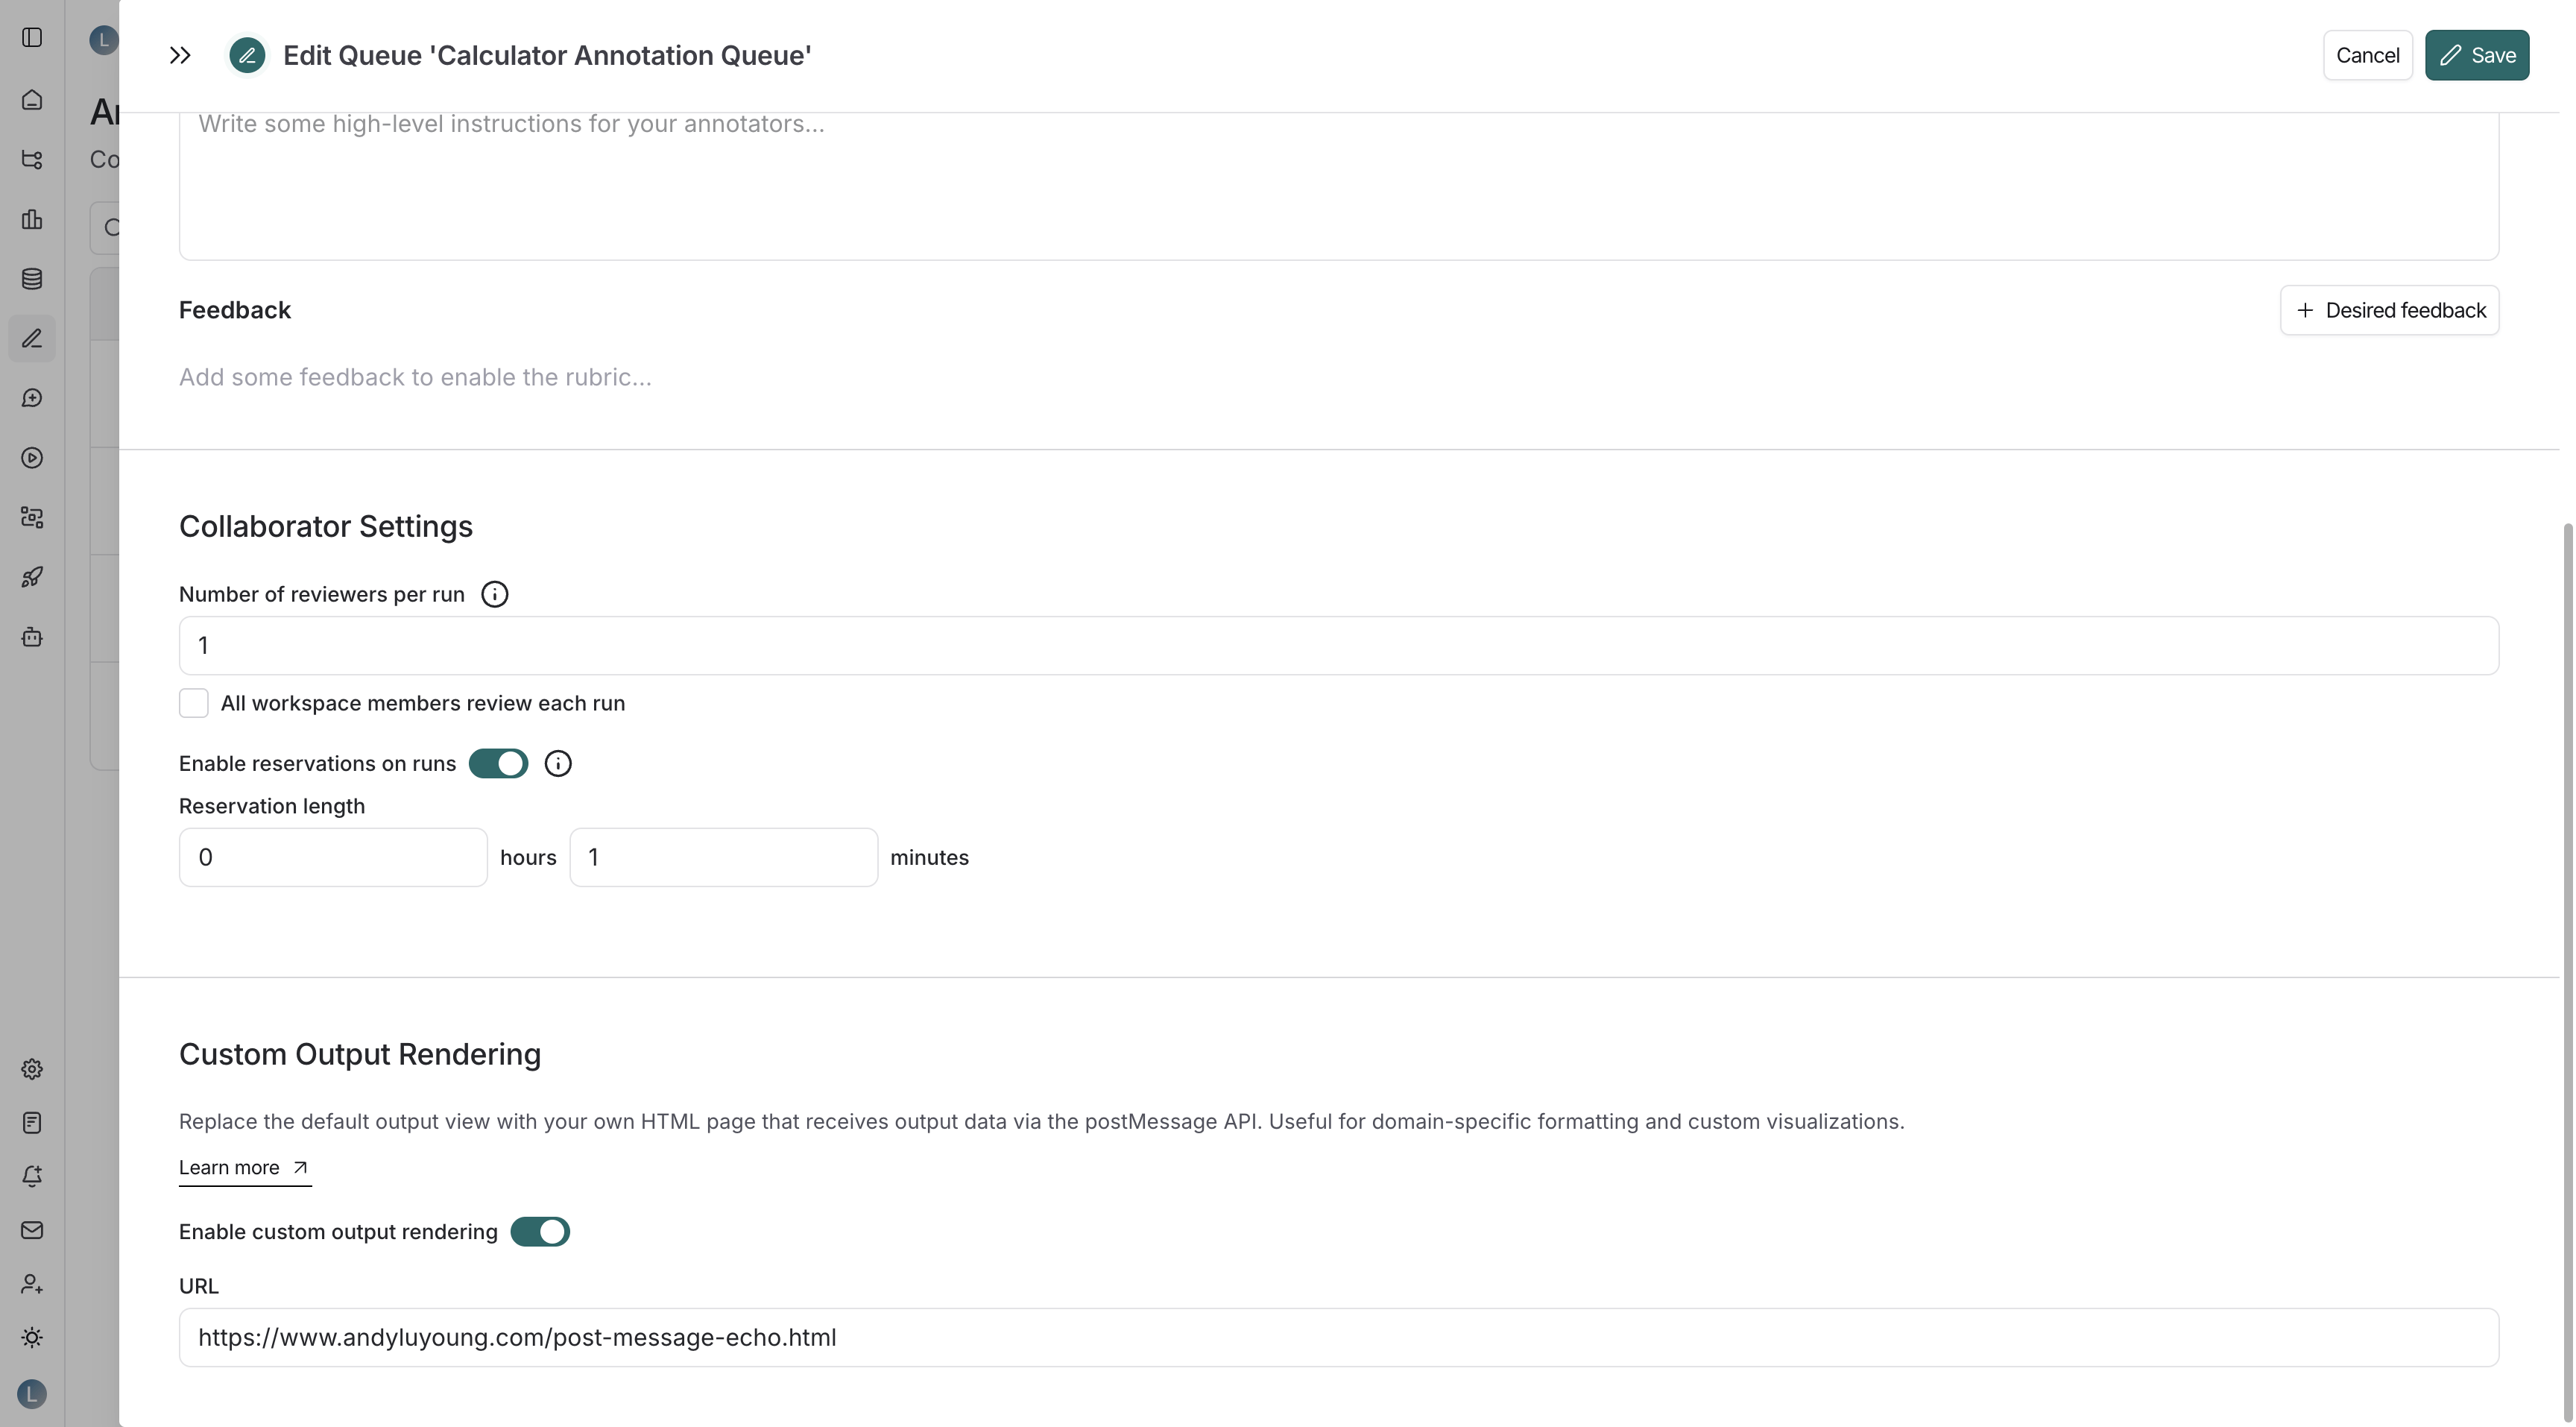
- 导航到 Annotation Queues 页面。
- 点击现有标注队列或创建新队列。
- 在标注队列设置面板中,滚动到 Custom Output Rendering 部分。
- 打开 Enable custom output rendering。
- 在 URL 字段中输入网页 URL。
- 点击 Save 或 Create。
INFO
当在多个层级应用自定义渲染设置时,优先级如下:标注队列 > 数据集 > 追踪项目。
构建自定义渲染器
了解消息格式
你的 HTML 页面将通过 postMessage API 接收输出数据。LangSmith 发送的消息具有以下结构:
typescript
{
  type: "output" | "reference",
  data: {
    // The outputs (actual output or reference output)
    // Structure varies based on your application
  },
  metadata: {
    inputs: {
      // The inputs that generated this output
      // Structure varies based on your application
    }
  }
}type:指示这是实际输出("output")还是参考输出("reference")。data:输出数据本身。metadata.inputs:生成此输出的输入数据,用于提供上下文。
NOTE
消息传递时机:LangSmith 使用指数退避重试机制,确保即使你的页面加载缓慢也能收到数据。消息最多发送 6 次,延迟逐渐增加(100ms、200ms、400ms、800ms、1600ms、3200ms)。
示例实现
此示例监听传入的 postMessage 事件并在页面上显示它们。每条消息都会编号并格式化为 JSON,便于检查 LangSmith 发送给渲染器的数据结构。
html
<!DOCTYPE html>
<html>
    <head>
        <meta charset="UTF-8" />
        <title>PostMessage Echo</title>
        <link rel="stylesheet" href="https://unpkg.com/sakura.css/css/sakura.css" />
    </head>
    <body>
        <h1>PostMessage Messages</h1>
        <div id="messages"></div>
        <script>
            let count = 0;
            window.addEventListener("message", (event) => {
                count++;
                const header = document.createElement("h3");
                header.appendChild(document.createTextNode(`Message ${count}`));
                const code = document.createElement("code");
                code.appendChild(document.createTextNode(JSON.stringify(event.data, null, 2)));
                const pre = document.createElement("pre");
                pre.appendChild(code);
                document.getElementById("messages").appendChild(header);
                document.getElementById("messages").appendChild(pre);
            });
        </script>
    </body>
</html>自定义渲染的显示位置
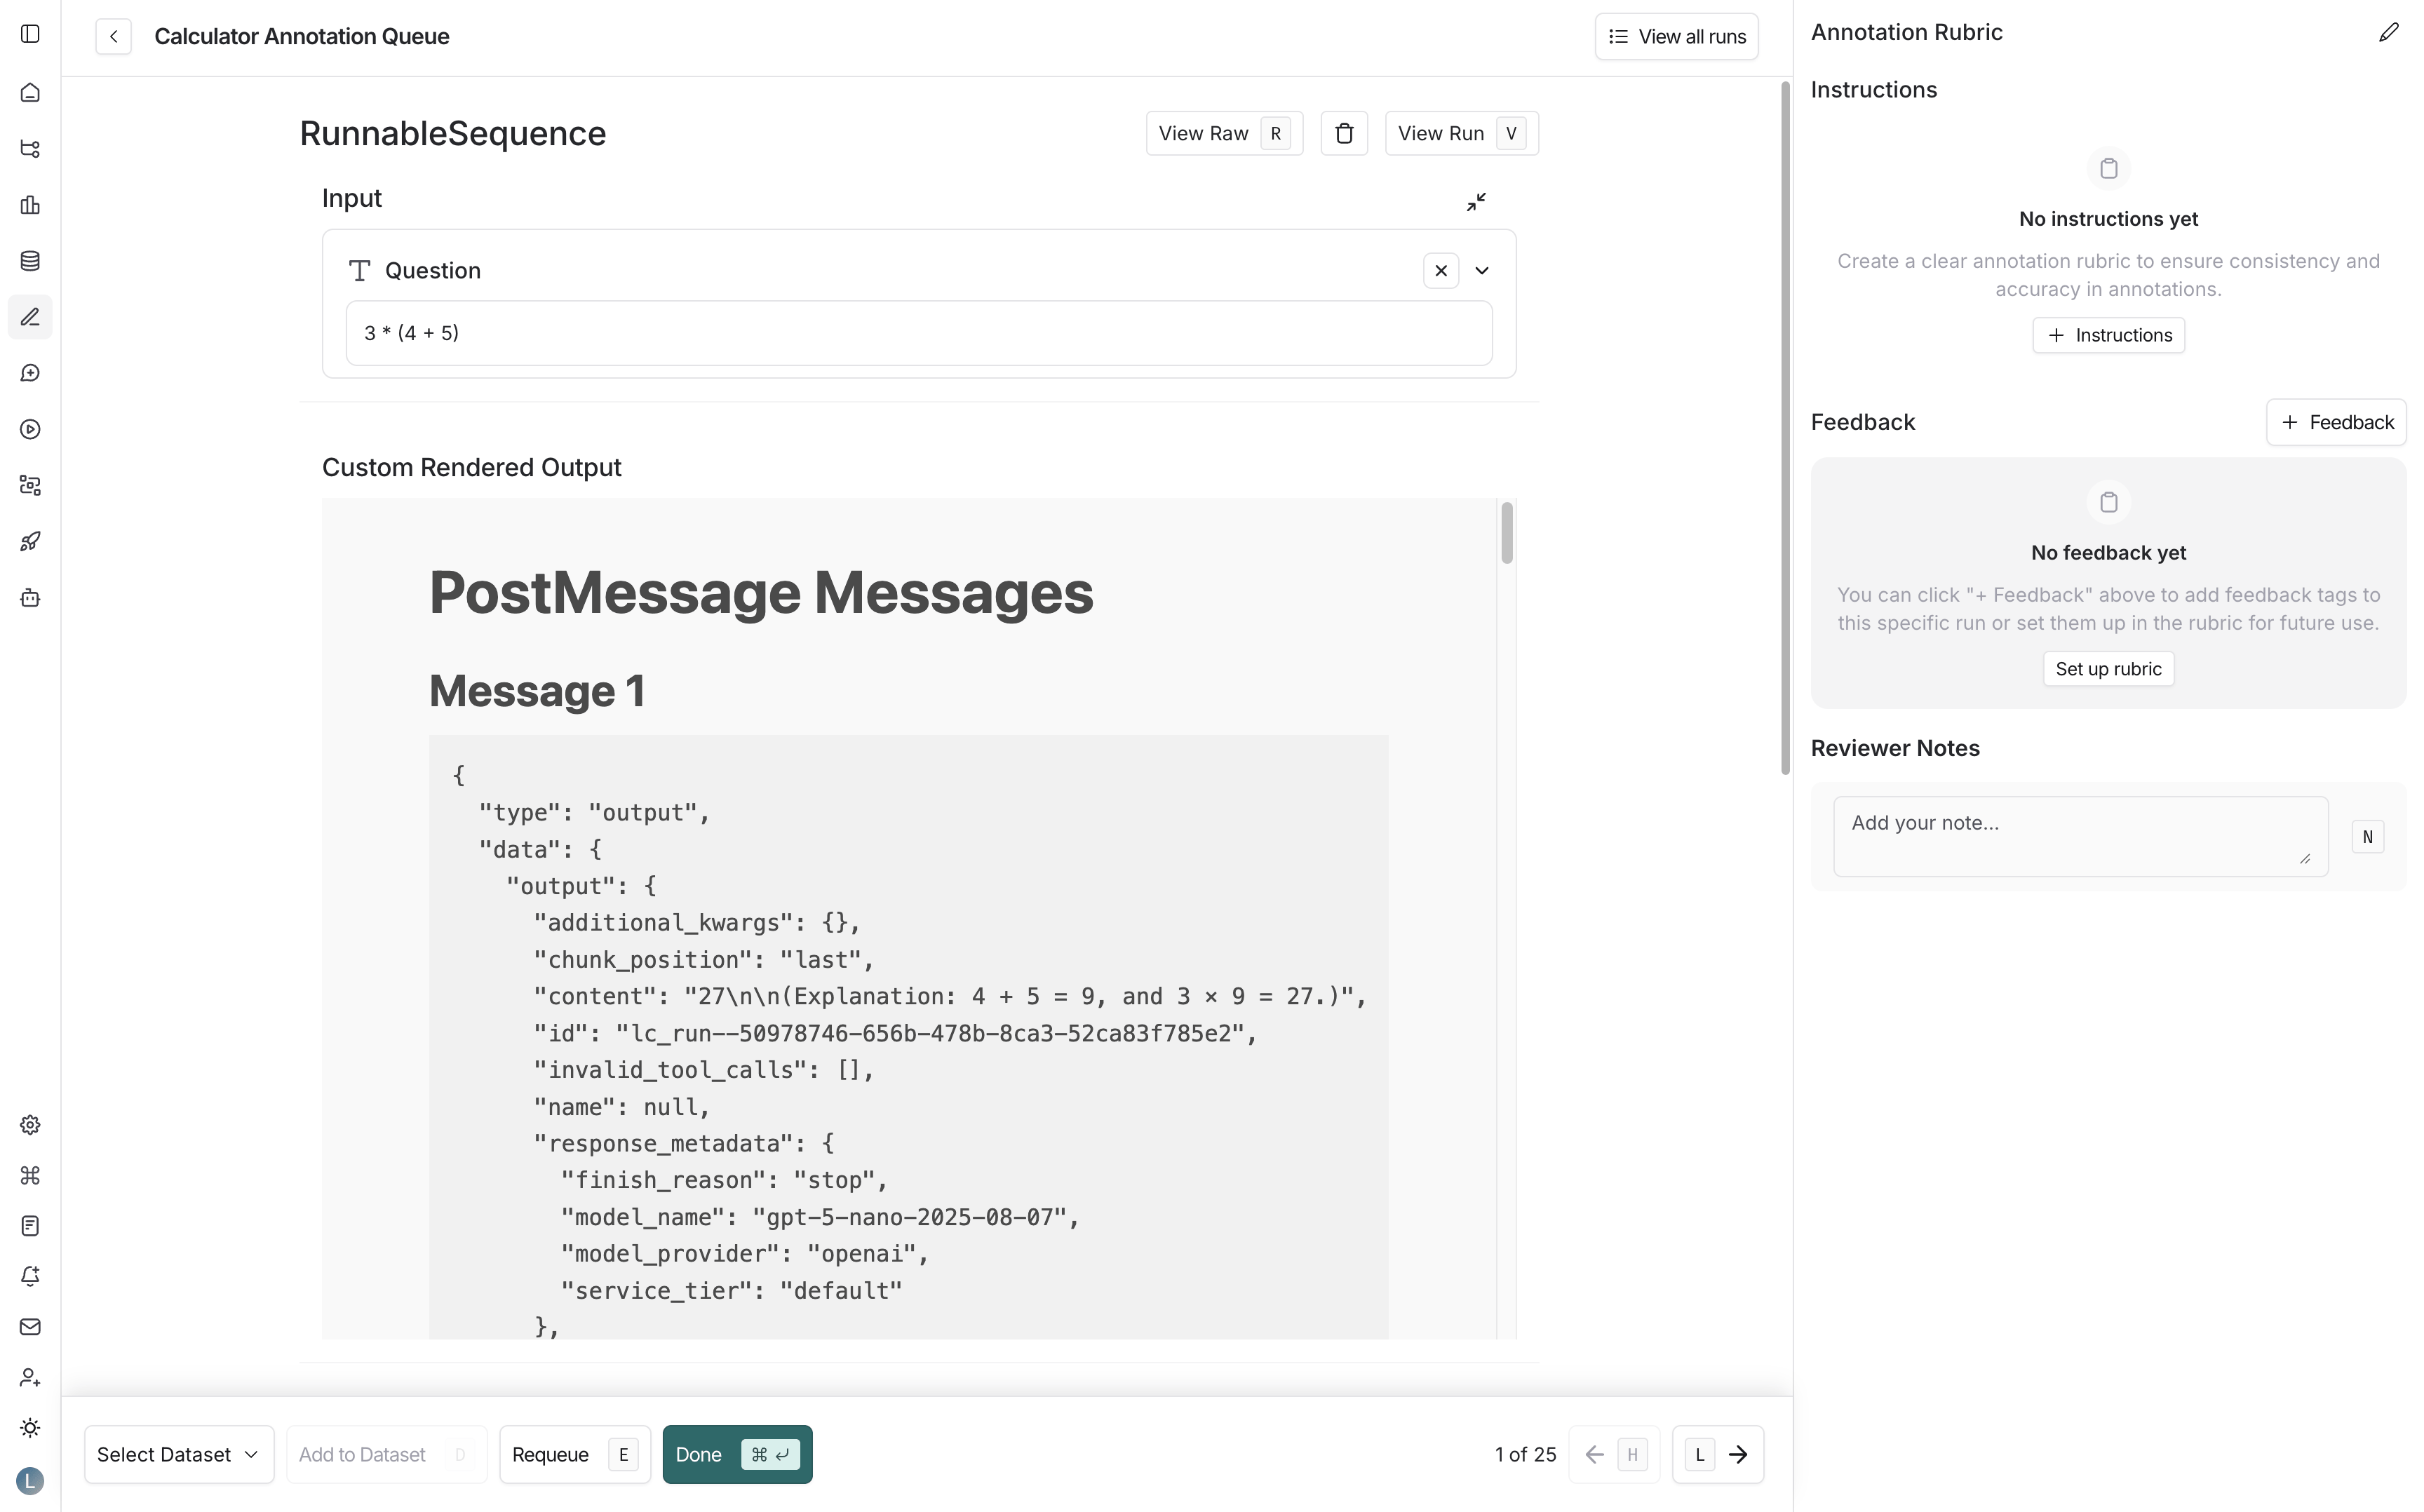
启用后,你的自定义渲染将替换以下位置中的默认输出视图:
- 实验比较视图:在比较多个实验的输出时:
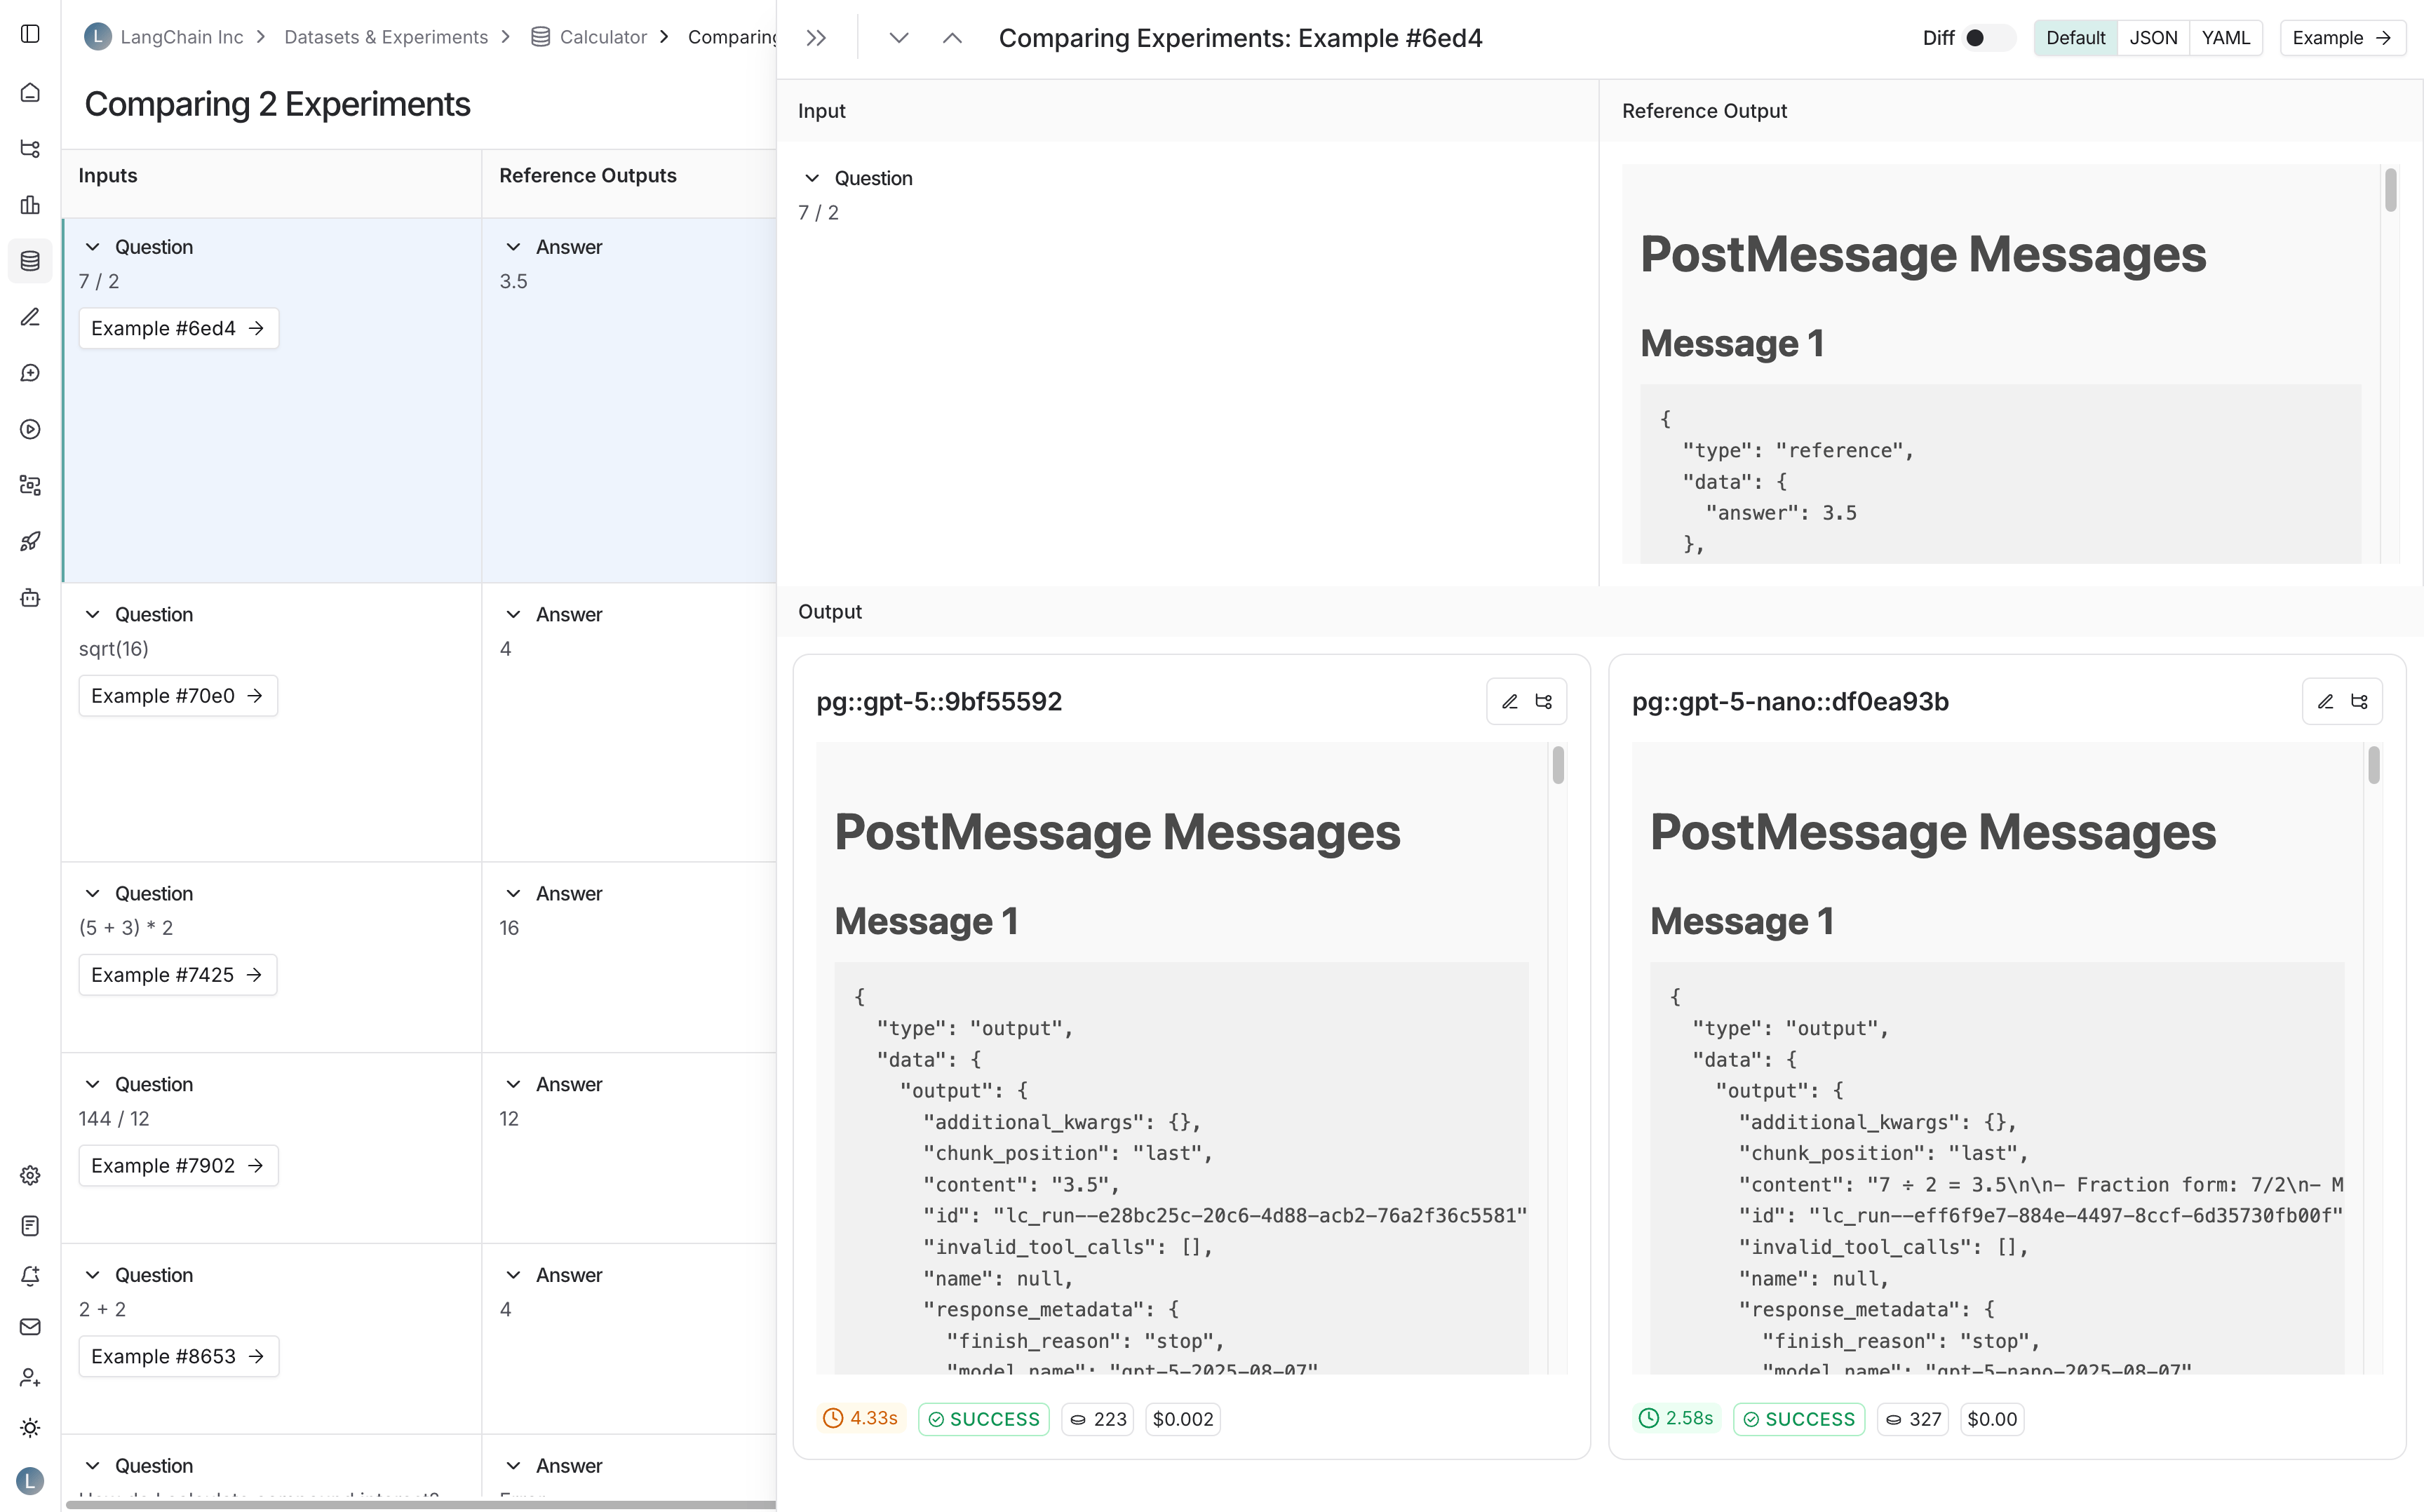
- 运行详情面板:在查看与数据集关联运行时:
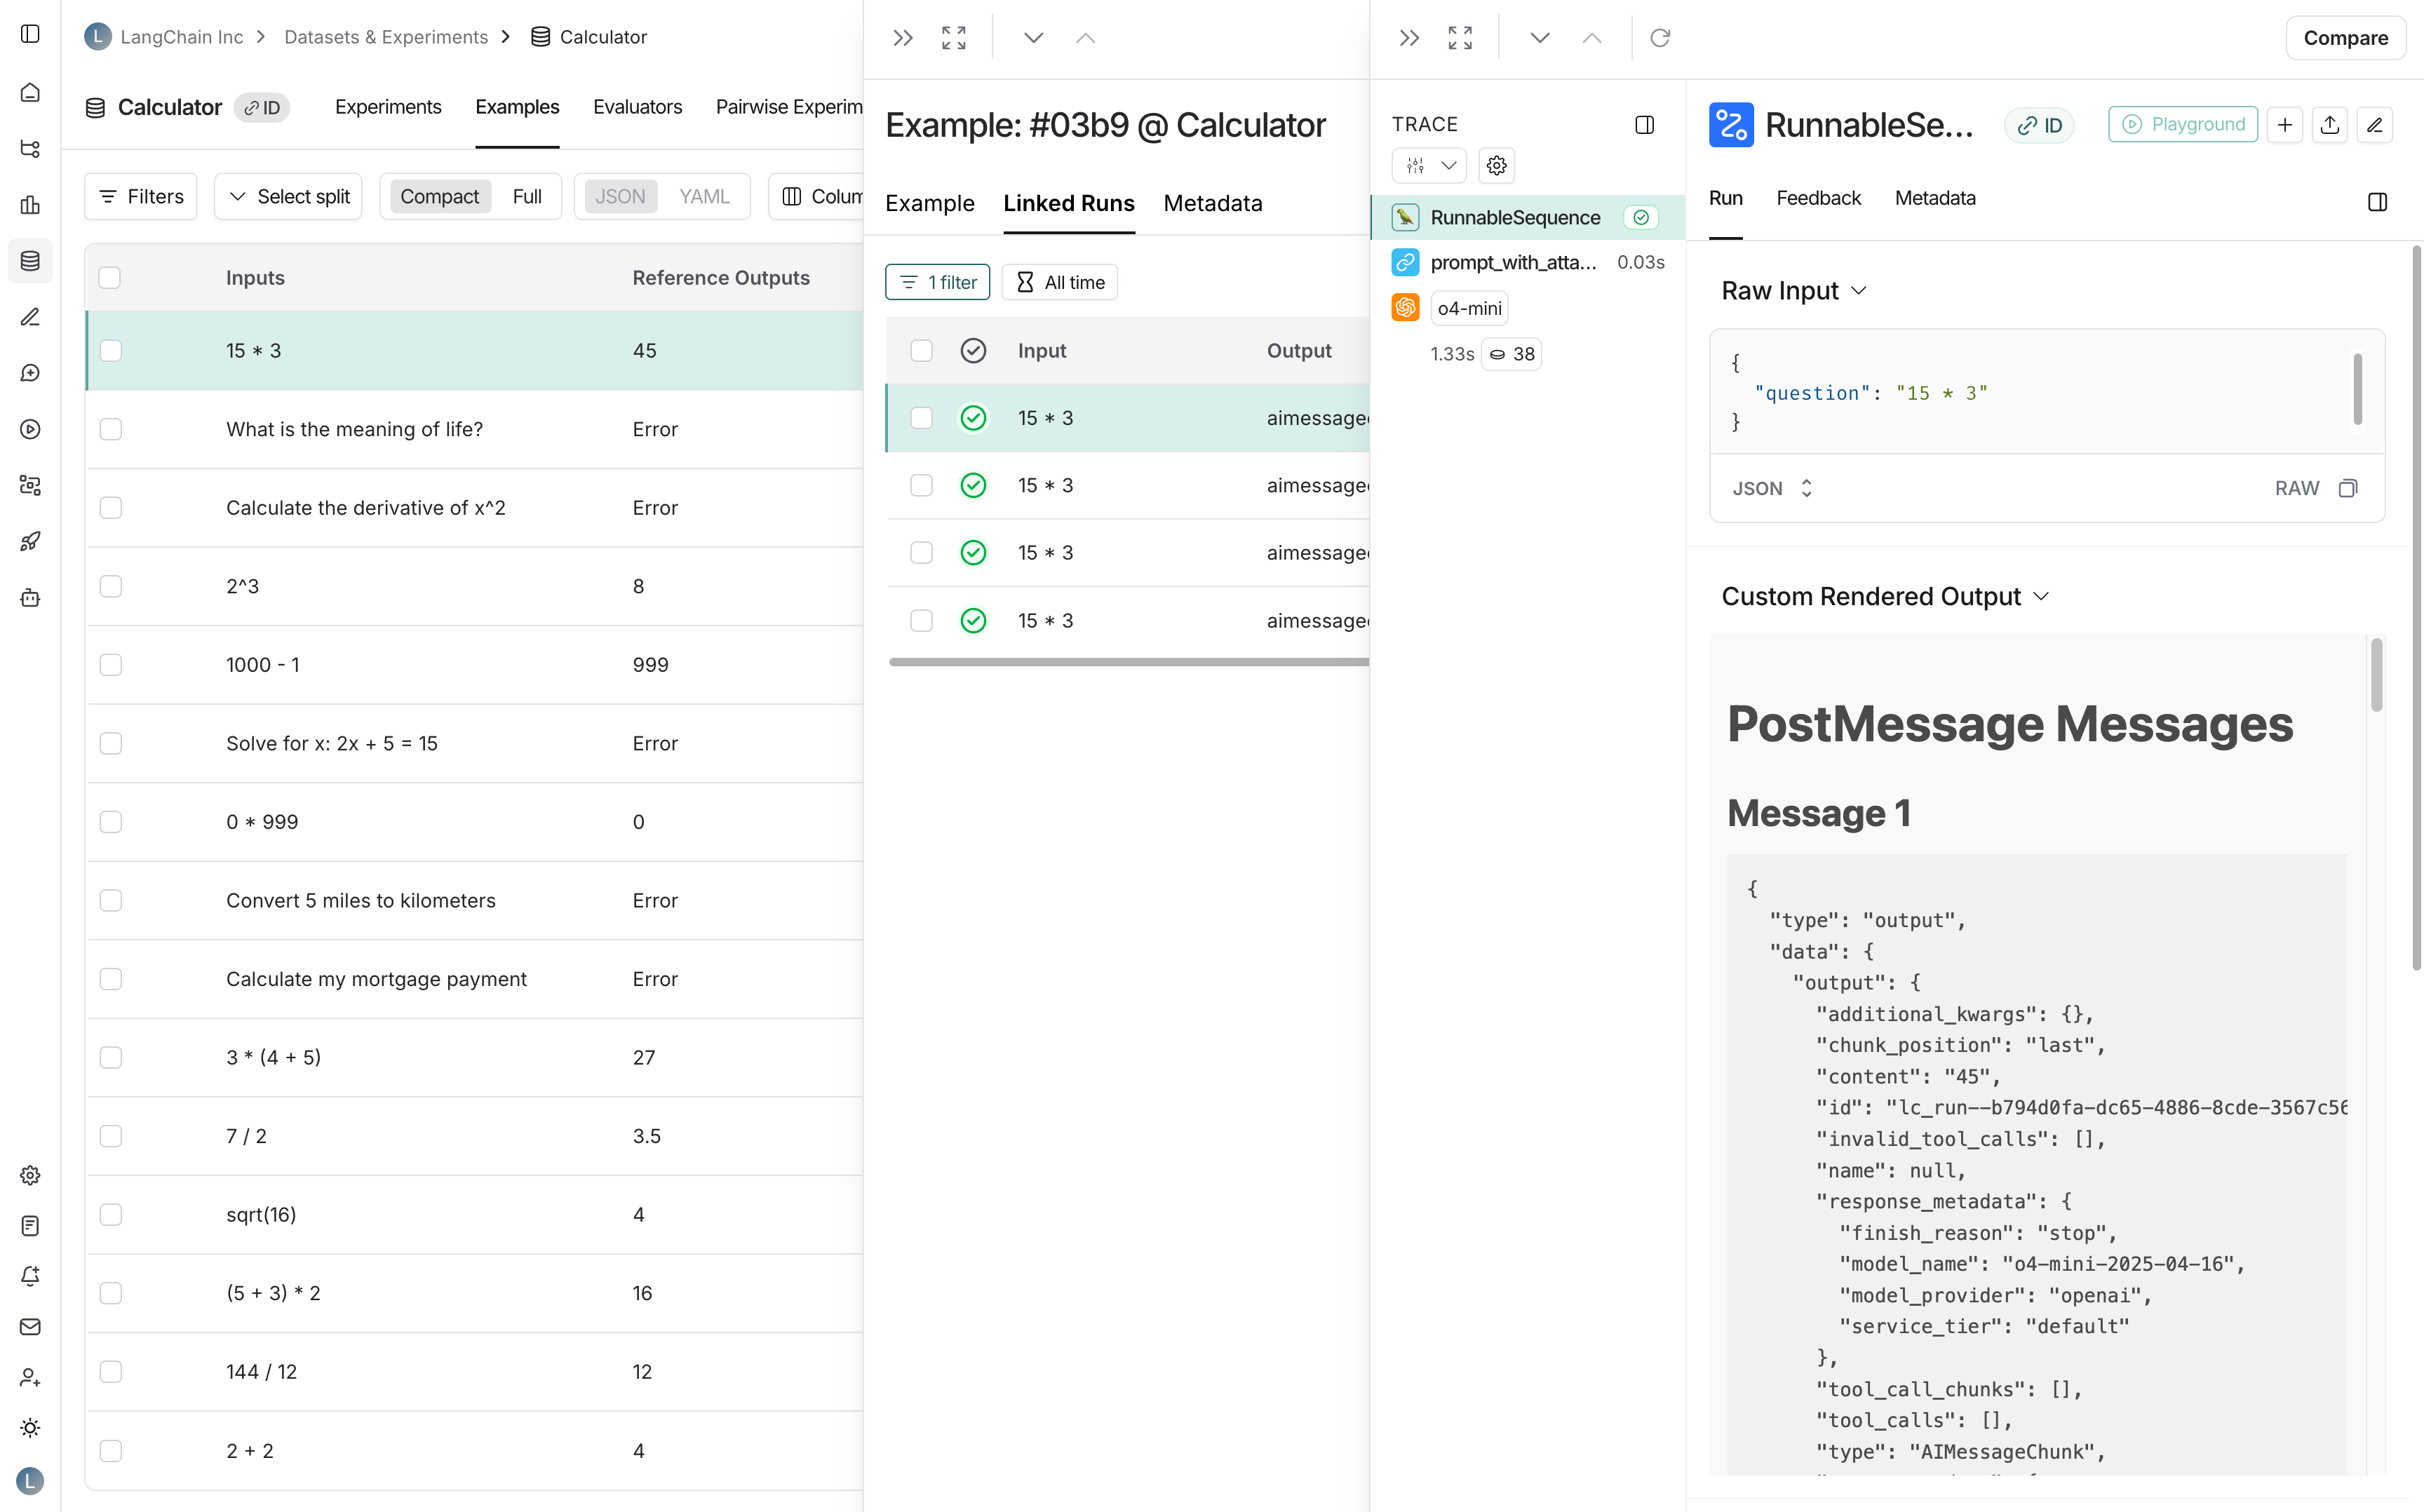
- 标注队列:在标注队列中查看运行时: